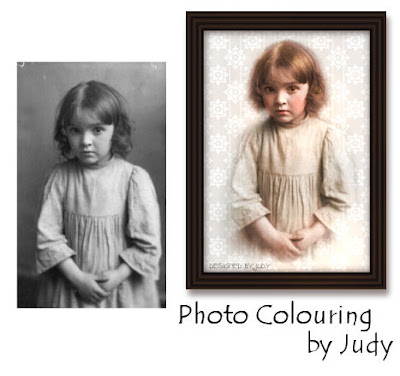
 I love colouring old photos to give that "hand coloured" look and I hope these tips are useful to you.
 The Photo I used, "Little Orphan Annie" by Elizabeth B Brownell Public Domain is available on Wikimedia Commons -- Image HERE
For the tutorial I have reduced the size of the image, but I encourage you to colour at the original size of your photo or illustration.
The tutorial was created using Paint Shop Pro 9 but later versions should be similar.
Open your image, copy and close original.
[Don't forget to save often]
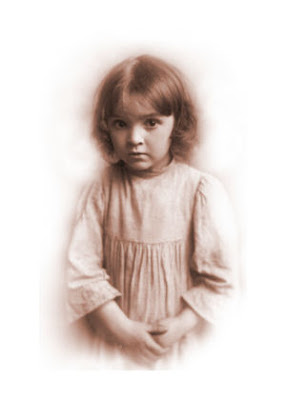
Adjust>Hue and Saturation>colorize and reduce saturation to 0%
Promote background layer and resize canvas to give yourself some room :).
New raster layer and fill with white and send to the bottom.
 Layer> new mask layer> hide all. Apply a white brush to your mask as outlined in my vignette tutorial (https://judyattoc.blogspot.com/2008/12/using-mask-to-create-vignette-in-paint.html)
 Now for some colouring.
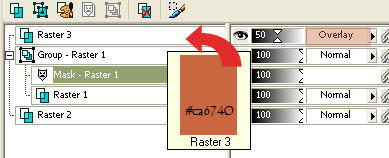
We'll start with a general recolour by adding a new raster layer blend mode "overlay"
Flood fill with #ca6740 ...oops...a bit strident..Lower opacity of the layer to suit your preference..I've gone down to 50%
 Already looking better.Notice how the colour is only taken up by the non white areas.
 Now a little colour to the cheeks.
New raster layer called "cheeks", blend mode "overlay" [or "color"].
Using a round paint brush opacity about 50% and hardness 30% zoom in and colour the cheek areas...and again lower opacity of your layer..it is best to be subtle. Erase or undo any overcolouring.until you are happy.
I used color #ca4040
 Similarly apply colour to the lips.I used the same colour.
I brightened up the eyes with a bit of yellowy brown in the same way.
Use a new layer for each colour.
The dress I took to be calico coloured.
This time my new layer was blend mode "color" and I carefully coloured the dress area with #446244 and lowered opacity way down until just some colour showing.
 Finally some highlights for the hair.
New layer, blend mode "dodge"
 Using a brush with color #ffff00 clear yellow, lightly apply to the hair area which you want to highlight.

 If you only wish to use your image with a white background , save now as a .jpg.
However, you may want to use over a variety of backgrounds and will want to have your vinigrette saved as a pspimage or .png with a transparent background.
Let's fine tune our mask by flood filling our background [layer 1] with black.
 Using the black brush on the mask layer remove any more unwanted areas and add any missing areas by applying white to those, until you are satisfied with your image.
 We will save this mask to the alpha channel:-
Whilst the mask layer is selected, layer>load/ save mask> save to alpha channel.
 Close your black background layer so it can't be seen.
We now have some of our first fill colouring to remove from around our image.
 We will now apply our saved mask to this layer.
Layer>load /save mask> load mask from alpha channel.
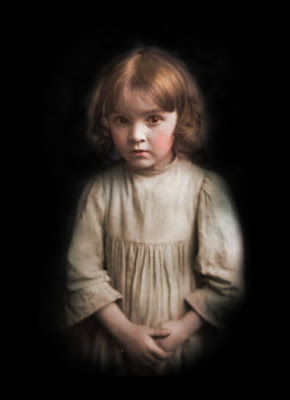
 Repeat with any of the layers where you may have strayed beyond the image with your paint brush as a "clean up"
You should end up with something like this:
 Save as a .pspimage or a .png
I then added a lightly patterned background and a frame.
 I have used only a few layers in this example ...with a more complicated image you will have more and you may need to experiment with colours to get just the look that you would like.
I tend to use quite strong colours at low opacity and find that works best for me.
 A Couple of Tips:
Do any repairs to your photo before you start :)
If your resultant image looks a bit "muddy" or dark, lighten your original image.
A quick way to do this which I find works well is to duplicate the layer of your photo and change the blend mode of that duplicate layer to "screen" and adjust opacity to suit before merging down.
Have fun ..and DO experiment.
Judy

