My directions here are for PSP 9.
MAKING A VIGNETTE USING A MASK IN PSP.
I will be making an image suitable for a frame approximately 7" X 5" at 300 dpi [ie 2100 X 1500] but you can scale up or down to suit.The same method works well for web sized images.
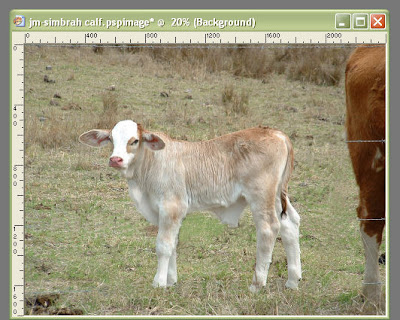
1 Open the image which you wish to add to your album page.Duplicate and work on the copy.At this stage correct any flaws before adding to your page.[I usually clone out any obvious extraneous material close to my subject at this stage.]
In this image, I removed a lot of barbed wire :)
Crop with a fair bit of space around your image. Resize canvas to a bit larger than what you will need eg 2400 X 1800 to allow for a bit of manipulation.
 2 Layer> promote background layer.
3. Then new raster layer named "new background" right click> arrange> send to bottom. Flood fill this with your preferred background colour, gradient or pattern..I've just used an "off white gradient"
4 Back to your image layer.Layer>new Mask Layer>Hide All
 oops..image has disappeared :)
 5 Lower the opacity of the actual mask so you can see your original picture .I made mine 72%
 6. Select your brush tool and choose your round brush . Foreground white and background black and these settings..notice that I have lowered the hardness a bit. [You will need a smaller brush size if working on a smaller image]
[Click on the image below to enlarge it. ]
 7. Making sure you are on your mask layer hit the focus of your image with your brush.
 8 Return the opacity of your mask layer to 100%
9 Now reduce the opacity of your white brush to about 50% or lower and work outwards from this revealing as much of your image as you wish. To reverse either undo or use your right click and apply black...[great for softening any edges.]
As I work outwards I like to reduce the opacity of my brush even more.
 10 I like to save this image with all layers "as is" in case I want to make any final adjustments at a later date.
To use on another image, you have several options. You can copy merged and paste or simply copy the whole mask "group"....handy if you would like to make any fine tuning adjustments later..
My final image
 Some fun stuff::
Try stamping around the edges of your mask layer with a patterned brush loaded with white


Have Fun!


