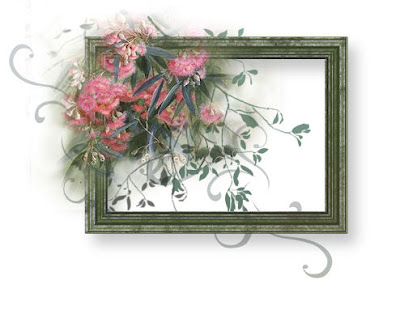
 USING A PSP LAYERED SHAPE
One of the great things that I really like about Paint Shop Pro is the ability to be able to make, save and use layered PSP vector shapes.
There must be a limit to the number of layers that it will support...but so far I haven't reached that limit :)
In this tutorial I'll show one option using a very simple layered shape that I have made.
In my DOWNLOAD ZIP are several files.
Place the shape "jm_rect_layered_frame_5_7.PspShape" in a folder within your PSP Files for Preset Shapes. [I have a lot of shapes saved so have quite a number of folders in my shapes library]
Place the texture JM_Wood Texture3a.jpg in your texture folder.
Open a new file say 500 X 500 at 72 dpi transparent background raster layer and fill with any colour . ..however size however doesn't really matter for this exercise.
Make a New Vector Layer ..name it "frame".
Select the shape tool
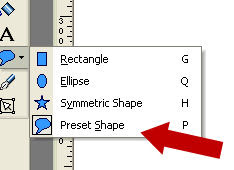 Select the shape "jm_rect_layered_frame_5_7.PspShape" from the drop down list.
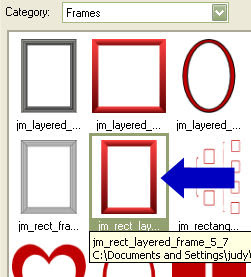 [If your shape does not show up, make sure that you have subfolders ticked in your preferences. go to File>Preferences.File locations and tick subfolders enabled box]
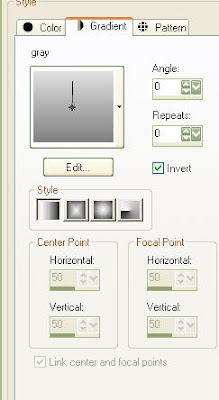
Use these tool bar settings with foreground nil and background a simple gradient of your choice linear style.
 Click image above to enlarge.
 Now hold down the shift key while with your left mouse key held down, you draw out your frame:
[Holding down the shift key will maintain the width/height proportions of your shape which in this case is approx 5/7]
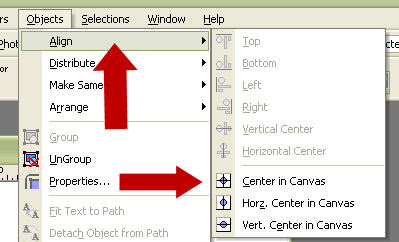
Then go to Objects >align>centre in canvas
 You should have something similar to this :
 Now for some editing :)
Open your vector layers in the layer palette by clicking on the + sign adjacant to the layer and then on the group layer
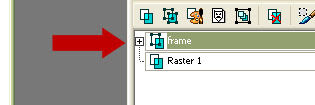

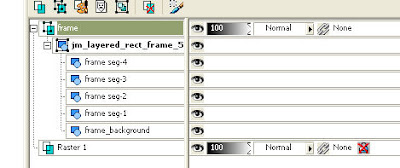
Hover your mouse over each of these layers to see what they contain . In later versions of PSP they will be seen more readily...
eg PSP 10
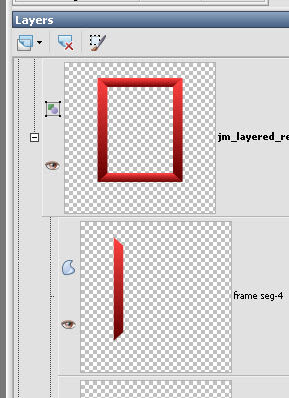
It is now possible to change the properties of these individual layers within the group.
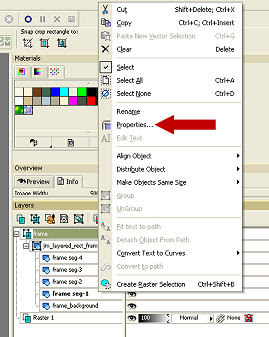
Select frame segment_1 layer within the group and right click on this :
It will open a dialogue box Select Properties:
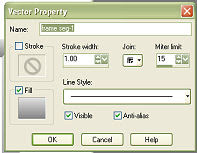 Leave the line style for the moment and click on the fill to alter.
I have selected one of the metallic gradients that comes with PSP and kept the repeats as 0 and direction angle at 0.
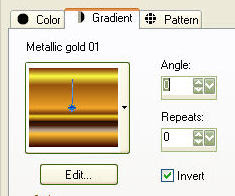
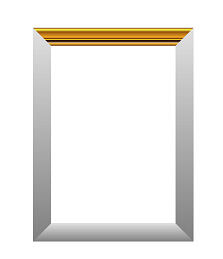 Repeat for Frame seg2 but with gradient angle 90, frame segment 3 angle 180, frame seg 4 angle 270
Select the layer named frame background and change the fill to a darkish colour from your gradient and also tick the stroke box and change that fill colour to the same colour and alter the width to about 2 or what just shows around your frame to define it a little.[a matter of taste]
You may like to save your frame at this stage as a vector..[.I tend to remove the background layer at this stage]
Now lets duplicate our vector layer and convert the duplicate layer to a raster layer so we can apply some effects.
Your layers should look like this
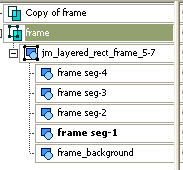 I am going to apply some wood texture.
On Vector layer select frame seg-1 Hold down the shift key and select frame seg-3 Go to Selections>selection from Vector object
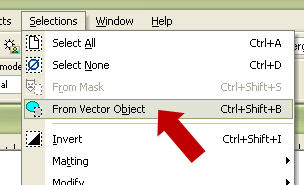 Now whilst selections are still in place go to your raster frame layer and Effects>texture effects and apply a texture. I have used the following settings:
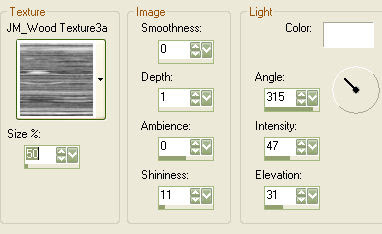 If you use another woodgrain texture, make sure your grain is running horizontal.
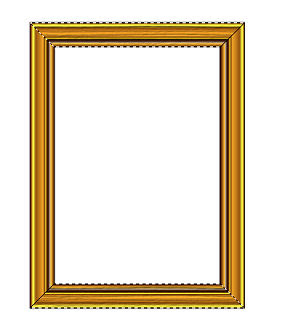 Image>rotate>rotate clockwise [or right] 90 degrees
Repeat texture using frame seg-2 and frame seg-4 layers for your selections.
Selections> select none
Image rotate>counter clockwise 90 degrees.
Delete background layer if you have not already done so and save as a .png file or .psp image
You will see a fine diagonal line in the corner of your frame, which is more obvious in smaller images. It is quite in keeping with a wood textured frame but can be eliminated using a small sized smudge brush.
Of course you can alter the colour/hue etc to suit and apply more textures and finishes!
In the example below I used a striped pattern in the frame segments and finished the frame with a slight bevel.
Have fun!
In the example below I used a striped pattern in the frame segments and finished the frame with a slight bevel.
Have fun!
Judy


