Fun tut for those who know their way around Paint Shop Pro. This tutorial requires plug-ins. I am assuming you have those but if not go to our PLUG IN links on left.
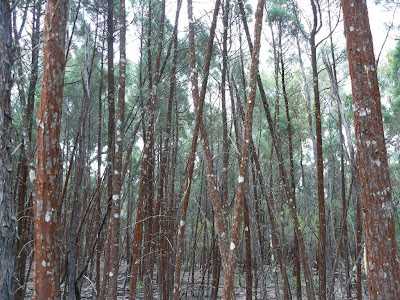
Take this simple picture of some woods (many thanks Joan for the great picture) - click on the pic to see full size, right click and save to your desktop.
Using your square selection tool choose a reasonably sized square, copy and paste as a new image.
Resize to around 300x300 px. Windows duplicate twice so that you have three separate squares. This is the basis of our play. Firstly we will make all our tiles then create finished papers.
1) With your first square duplicate the layer, flip and reduce opacity to 50 - this is to tone down the amount of light sky colour - merge all flatten. FM Tile tools, blend emboss at default. Then use Xero, Artifax with the following settings: 255/170/25/0/255
Add new layer and drag to bottom, fill with colour - I used #859fa0 - on top layer change opacity to suit you. Merge all flatten and save as .jpg tile 1.
2) Using your second square, Effects, Distorion Effects, Polar co-ordinates, rectangular to pole.
Use your deform tool to pull your image right of the sides to fill the square. Then use your crop tool around the square and delete from the edges to get rid of any polar left outside. Blur, gaussian blur 12. Add noise gaussian mono 5. Now DSB Flux, centre mirror at default. FM emboss, FM seamless tile at default. Save as .jpg tile 2.
3) Using your third square cut a little square piece out with no sky - effects, image effects, seamless at default. Save as .jpg tile 3.
Having fun? Let's go make our papers

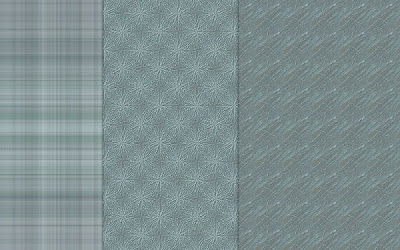
Take your first saved jpg tile, minimize, open new image 600 x 600 (or whatever size you want). On your colour pallete select pattern and settings 0 50, fill. You may add texture or anything else you wish to this plaid. As it is a subtle colour it is very easy to recolour using hue and saturation.
Take your second saved jpg tile, minimize and select it in your pallete again, this time settings are 45 and 10. Open new image as above, flood fill with pattern, add a layer of the same soft green colour as earlier, reduced opacity to about 70 to tone with the plaid. Save this as your second paper.
For the third paper using your saved tile 3 use the tile as a pattern, open new image and fill with pattern, settings 45 and 50. Use FM emboss twice, add a new layer, fill with the soft green colour as earlier and reduce opacity to suit.
There you have three completely different papers from one image, all tone nicely. As we have used a soft colour each paper can be duplicated and coloured as often as you like.

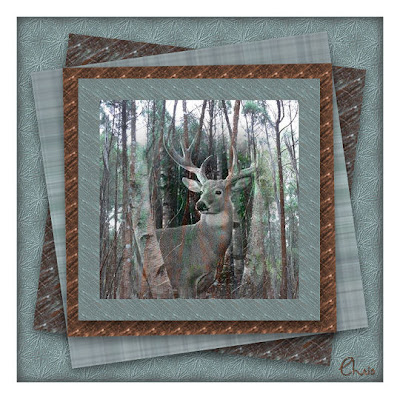
Here are my papers with addition of a deer! You will notice that I coloured a paper also.
Hope you have enjoyed this play.
Obviously the tips we have given here can be applied to any picture.
Please take time to visit our main Touch of Class blogs. Links on the left.
Chris at Touch of Class
