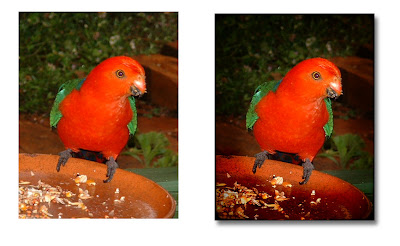

I was reasonably happy with this image but wanted to give the 2 central characters more focus or emphasis.
One way to do this is to darken the image edges to draw the eye to the focal point.
This method of darkening the edges without "muddying" them worked for me and has the advantage that I could be as subtle or dramatic as I wished without actually affecting my original image :)
The method works as well in PSP 9 as my later X3.
After making some cropping and minor light adjustments, I duplicated the image and left the the original open.
On duplicate,I created a new layer with blend mode multiply.
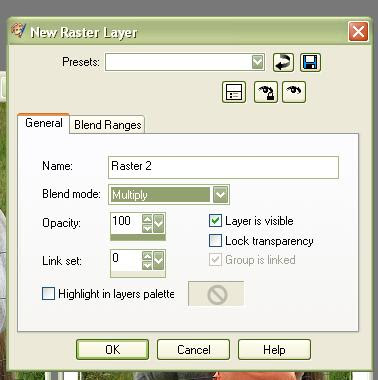
I selected a soft brush ..[size depending on the size of my image]. When I did this image originally at full size, I needed a 500 pixel brush. I used an opacity of 30% or less and hardness reduced to 15%.
My settings below [click on the image to enlarge].

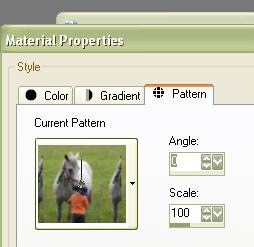
From the materials palette I selected "pattern" and my original image , angle 0 and scale 100%
I now applied my brush right around the outside of the image to give the desired effect, adding extra depth at the very edges.
To further enhance the edges, I added a new layer with Blend mode "burn" and using a smaller brush and same fill went around the very edge again.
A dodge layer was then added above my bottom background layer to add a couple of subtle highlights again using the soft brush and same fill.

Finally, as you can see, I adjusted the opacity of layers to make the effect a bit less dramatic .
Resulting image to my mind has more pictorial focus. .
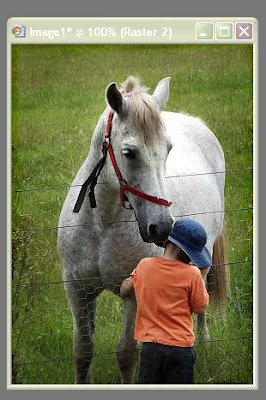
I then added a frame from my collection and signature.
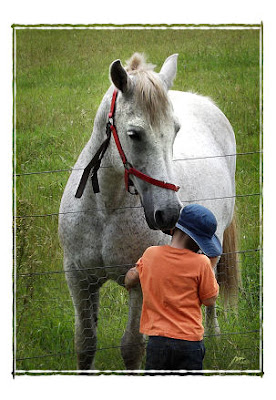
Horse Whispering
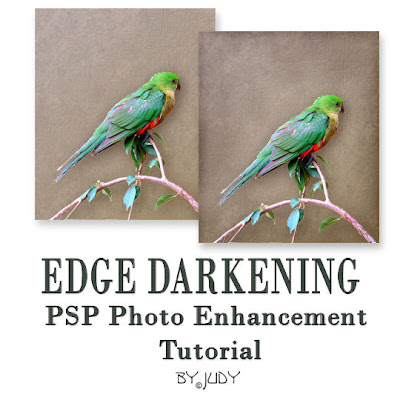
In the example below, I've intentionally overdramatised a bit :)
I took this photo in poor light in the evening with a flash which brightened too much of the background.
